Have you noticed tears, leaks, or broken components on your tonneau cover?
Perhaps it’s showing signs of general wear and tear, sagging, or experiencing locking mechanism issues. Don’t worry!
In this guide, we’ll walk you through the step-by-step process of repairing your tonneau cover.
But first, let’s explore the common problems, tools, and materials you’ll need. So, are you ready to bring your tonneau cover back to its former glory? Let’s dive in!
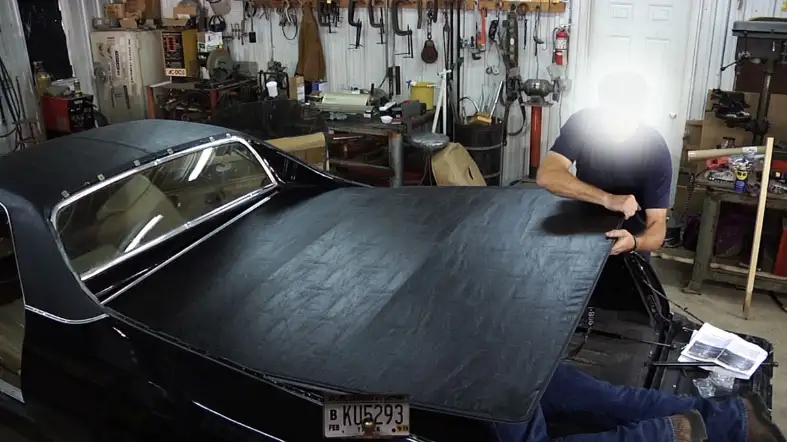
Common Problems with Tonneau Covers: What Can Go Wrong?
Tears and Rips
Tonneau covers can develop tears and rips over time due to various factors such as sharp objects, weather conditions, or improper handling.
Leaks and Water Seepage
Some tonneau covers may experience leaks, allowing water to seep through and potentially damage the cargo or the truck bed.
Broken Components
Components like hinges, latches, or support bars can break or malfunction, causing difficulties in opening, closing, or securing the tonneau cover properly.
General Wear and Tear
Continuous exposure to the elements, UV rays, and regular usage can lead to general wear and tear, including fading, discoloration, or loss of elasticity in the cover material.
Sagging or Poor Fit
Over time, tonneau covers may start to sag or lose their proper fit, compromising their effectiveness in protecting the truck bed and cargo.
Locking Mechanism Issues
Tonneau covers with locking mechanisms may encounter problems, such as the lock not engaging or disengaging correctly, leading to security concerns.
Damaged or Worn-out Seals
Seals around the edges of the tonneau cover can wear out or become damaged, allowing dust, moisture, or debris to enter the truck bed.
Tools and Materials Needed for Tonneau Cover Repair
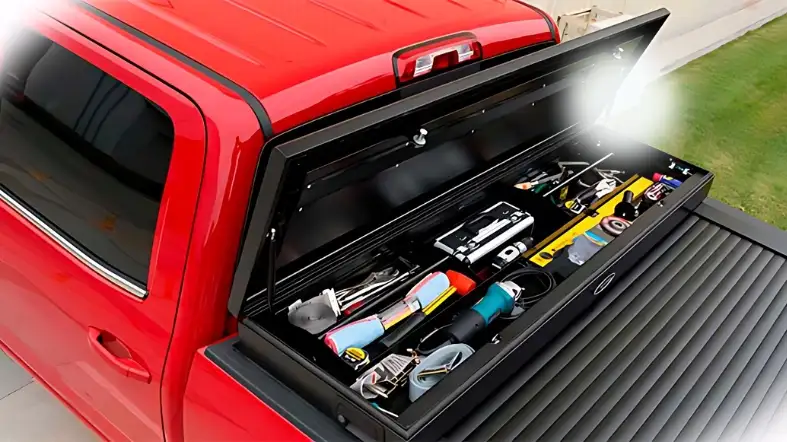
Vinyl Repair Kit
A vinyl repair kit is essential if your tonneau cover is made of vinyl, which is a common material for these covers.
The kit typically includes a patch material, adhesive, and sometimes even a color-match compound.
It’s designed to mend tears and holes seamlessly, restoring the integrity of the cover.
Silicone Sealant
If your tonneau cover is leaking, a silicone sealant can be a lifesaver.
This waterproof material is perfect for sealing any gaps or cracks that might be letting water into your truck bed.
Ensure you choose a high-quality sealant that can withstand different weather conditions.
Rubber Conditioner
Rubber conditioner is a must-have if your tonneau cover has rubber seals. Over time, these seals can become dry and brittle, leading to leaks.
Regular application of a rubber conditioner can keep them supple and effective.
Cleaning Supplies
Before you start any repair, you’ll need to clean the area thoroughly. Some mild soap, a sponge, and clean water should do the trick.
Cleaning helps the repair materials adhere better and prevents dirt or grime from getting sealed into the cover.
Sandpaper
If your tonneau cover is showing signs of wear, like fading or discoloration, sandpaper can help.
Light sanding can remove the top layer of damaged material, preparing the surface for further treatment, like painting or sealing.
Paint and Primer
For tonneau covers that are faded or discolored, you might need some paint and primer.
Choose a product that’s designed for outdoor use and matches the color of your cover.
The primer prepares the surface for the paint, ensuring it adheres properly and lasts longer.
Screwdriver and Wrench Set
If your tonneau cover’s hardware is loose or damaged, you’ll need a screwdriver and wrench set.
These tools will allow you to tighten loose screws or bolts or replace any damaged hardware.
Note:
Having the right tools and materials is half the battle when it comes to DIY repairs.
With these items at your disposal, you’ll be well-equipped to tackle the most common tonneau cover issues.
Step-by-Step Guide: How to Repair a Torn Tonneau Cover
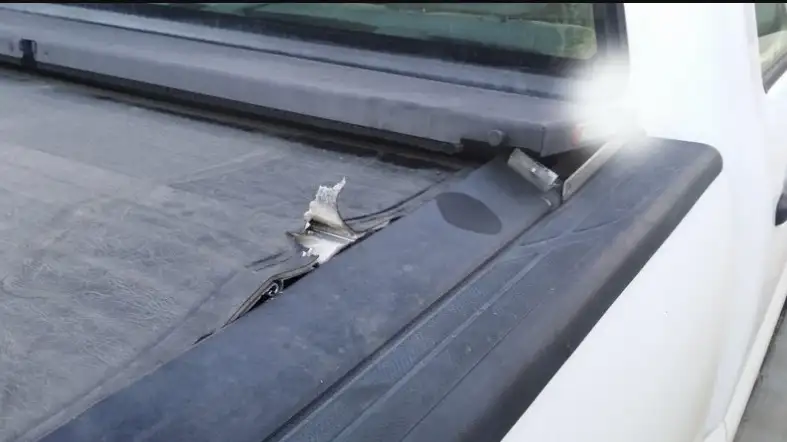
Step 1: Assess the Damage
You must first determine the size of the tear. You can then choose the best line of action with the aid of this.
If the tear is minor, a straightforward repair might work. Larger tears, though, might call for a more involved fix.
Step 2: Clean the Area
Thoroughly clean the ripped area before you begin the mending. To get rid of any filth or grime, use some mild soap and water.
Before moving on to the following step, make sure the area is totally dry.
Step 3: Trim Loose Threads
If there are any loose threads around the tear, trim them carefully. This will ensure a smoother repair and prevent further damage.
Step 4: Apply the Patch
Now, it’s time to apply the patch from your vinyl repair kit. Cut a piece of the patch material that’s slightly larger than the tear.
Apply the adhesive to one side of the patch, then place it over the tear, making sure it fully covers the damaged area. Press it down firmly to ensure a strong bond.
Step 5: Apply Heat
Most vinyl repair kits come with a heat transfer tool. If yours does, use it to apply heat to the patch.
This will help the adhesive bond more securely to the tonneau cover. Be sure to follow the instructions provided with your repair kit.
Step 6: Let it Cure
Let the repair heal for the required period of time after applying the patch and applying heat.
Depending on the particular product you’re using, this could take a few hours to a whole day.
Step 7: Check the Repair
After the curing time has passed, check the repair to make sure it’s secure. If the patch seems loose or the tear is still visible, you may need to repeat the process.
Step 8: Apply a Sealant
Finally, apply a sealant over the repaired area. This will help protect the repair from water and other elements, ensuring it lasts as long as possible.
Fixing Leaks: How to Seal Your Tonneau Cover Properly
Identify the Source of the Leak
You must first ascertain the source of the water. Check your tonneau cover carefully by opening it.
The most frequent locations for leaks are the corners and the region surrounding the hinges, therefore, pay particular attention to these regions.
Clean the Leaky Area
It’s time to clean the area after you’ve located the leak’s source. Use a soft cloth and a light detergent to get rid of any dirt or debris.
The sealing process can be hampered by any dirt that is left on the surface. Thus, this step is essential.
Dry the Area
After cleaning, be sure to dry the area completely. Any residual moisture could prevent the sealant from fully adhering.
To hasten the drying process, use a dry cloth or a hairdryer.
Apply the Sealant
Now, it’s time to apply the sealant. You can use a silicone-based sealant available at most auto parts stores. Apply a thin sealant layer along the leaky area, covering it completely.
Smooth Out the Sealant
After applying the sealant, use a flat tool like a spatula to smooth it out.
This will ensure that the sealant is evenly distributed and that no gaps or bubbles could allow water to seep through.
Let the Sealant Dry
Letting the sealant dry is the last step. Depending on the sealant you’re using, this could take a few hours or an entire day.
The required drying time may be found in the package’s instructions, so be sure to read them.
Test the Seal
It’s time to test the seal when the sealant has dried. Check to see whether water leaks through the sealed region by spraying some water on it.
If it does, you might need to add another sealant coat.
Dealing with Stuck or Jammed Tonneau Covers: Practical Solutions
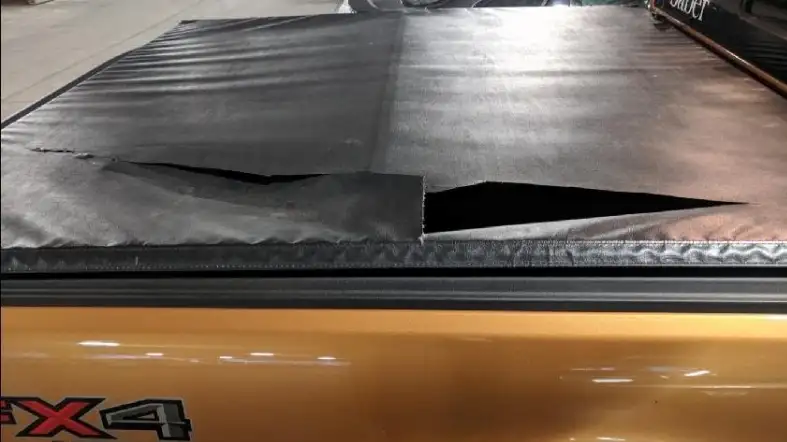
Identify the Problem
You must first comprehend the cause of your jammed tonneau cover. Is there a mechanical problem, such a broken lock or a misaligned rail, to explain it?
Or are the rails clogged with dirt or debris? After determining the issue, you can proceed to the suitable fix.
Cleaning the Tracks
If dirt or debris is the culprit, you’ll need to clean the tracks. Start by using a soft brush to remove any loose dirt gently.
Then, take a damp cloth and wipe down the tracks. If the dirt is stubborn, you can use a mild detergent. Make sure to rinse thoroughly and dry the tracks to prevent rusting.
Lubricating the Tracks
After cleaning, it’s time to lubricate the tracks. Use a silicone-based lubricant, as it won’t attract dirt or dust.
Apply the lubricant along the entire length of the tracks, ensuring it penetrates into all the nooks and crannies. This should help your tonneau cover slide smoothly.
Checking and Adjusting the Latch Mechanism
If the problem is a faulty latch, inspect it for any visible damage. Sometimes, the latch needs adjusting.
Most tonneau covers have adjustable latches; you can tighten or loosen them using a screwdriver. You may need to order a replacement part if the latch is broken.
Aligning the Rails
Misaligned rails can also cause your tonneau cover to jam. Check if the rails are parallel and adjust them if necessary.
You can do this by loosening the mounting bolts, adjusting the rails, and then tightening the bolts again.
Professional Help
If you’ve tried all these steps and your tonneau cover is still stuck, it might be time to seek professional help.
A professional can diagnose and fix more complex issues that might be beyond the scope of a DIY repair.
How to Repair a Faded or Discolored Tonneau Cover: Restoring Its Look
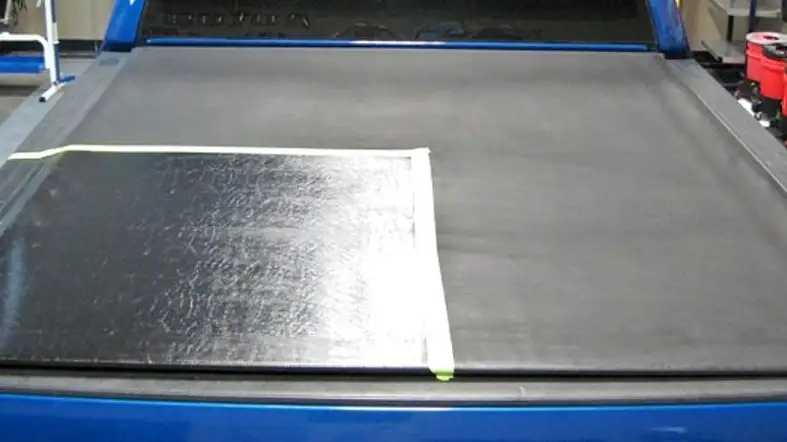
Assess the Extent of Fading or Discoloration
Before you dive into the repair process, take a good look at your tonneau cover. Identify the areas that are faded or discolored.
The fading is more severe in some areas than others. This is common, especially if your truck is often parked in the sun.
Gather Your Materials
You’ll need a high-quality tonneau cover cleaner, a UV protectant, and a microfiber cloth for this task.
The cleaner will help remove any dirt or grime that may be contributing to the discoloration, while the UV protectant will help prevent future fading.
Clean the Tonneau Cover
Apply the tonneau cover cleaner first. Observe the directions provided on the product’s label.
The cleaner is typically sprayed over the cover, let to sit for a few minutes, and then removed with the microfiber cloth.
Don’t just focus on the faded parts; wipe the entire cover.
Apply the UV Protectant
Applying the UV protectant is now necessary once the cover has been cleaned and dried.
The way this product functions is by erecting a barrier that stops dangerous UV rays, which are a major factor in fading and discoloration.
Following the manufacturer’s recommendations, apply the protectant, making it careful to cover the tonneau cover completely.
Allow the Protectant to Dry
Allow the UV protection to completely dry after applying. This often takes a few hours, but it may differ based on the product and the outside temperature.
Do not skip this step since it is essential for the protectant to completely enter the cover and provide a robust, long-lasting barrier.
Evaluate the Results and Repeat if Necessary
Once the protectant is dry, evaluate the appearance of your tonneau cover. If the fading or discoloration is still noticeable, you may need to repeat the process.
Remember, severe fading might not be completely reversible, but this process can significantly improve the appearance of your cover and protect it from further damage.
Preventive Measures: Tips to Extend the Life of Your Tonneau Cover
Regular Cleaning
First and foremost, you need to clean your tonneau cover regularly.
Dust, dirt, and grime can accumulate over time and cause damage. Use a soft brush or cloth to remove any debris gently.
Avoid harsh chemicals or abrasive materials, which can damage the cover’s surface. Instead, opt for a mild soap and water solution.
Rinse thoroughly and allow it to dry completely before folding or rolling it up.
Proper Installation
Ensure that your tonneau cover is properly installed. An improperly installed cover can lead to unnecessary wear and tear.
Make sure it’s securely fastened and that there’s no loose hardware.
If you’re unsure about the installation process, it’s worth consulting the manufacturer’s instructions or seeking professional help.
Regular Inspection
Inspect your tonneau cover regularly for any signs of damage. Look for any tears, leaks, or fading.
Early detection of these issues can prevent them from worsening and extend the cover’s lifespan.
If you notice any damage, address it immediately. Small tears can often be repaired using a tonneau cover repair kit.
Avoid Overloading
Avoid placing heavy objects on top of your tonneau cover. Overloading can cause the cover to sag or even tear.
Consider using a cargo carrier or trailer if you need to transport large items.
Lubricate the Latches
The latches of your tonneau cover should be lubricated regularly to ensure smooth operation.
Use a silicone-based lubricant and apply it to the latch mechanism. This will prevent the latches from sticking and reduce the risk of damage.
UV Protection
Consider using a UV protectant if your tonneau cover is frequently exposed to the sun. UV rays can cause the cover to fade and become brittle over time.
A UV protectant can help maintain the cover’s color and prevent it from cracking.
FAQs
Is It Better To Repair My Tonneau Cover Myself Or Hire A Professional?
It depends on the extent of the damage and your comfort level with DIY repairs.
You can often fix small tears or minor issues, but complex repairs or extensive damage may require professional assistance.
Can I Fix A Leaking Tonneau Cover Myself?
Yes, you can. Identify the source of the leak and apply a waterproof sealant or adhesive to seal the affected areas and prevent further water seepage.
What Should I Do If My Tonneau Cover’s Components Are Broken?
Assess the damage and determine if individual components can be replaced or the entire cover needs replacing.
Consult the manufacturer’s guidelines or seek professional assistance if necessary.
How Can I Address General Wear And Tear On My Tonneau Cover?
Regular cleaning and maintenance can prolong the lifespan of your tonneau cover.
Use mild soap and water to clean it, and apply a protectant or UV-resistant spray to prevent fading and cracking.
How Can I Prevent Future Damage To My Tonneau Cover?
Regularly inspect your tonneau cover for signs of wear, clean it properly, and store it in a secure area when not in use.
Avoid placing heavy objects on the cover, and be mindful of sharp or abrasive materials that can cause tears or scratches.
Final Words
With these practical tips and techniques, you can restore your tonneau cover to its former glory.
Say goodbye to tears, leaks, and broken components as you confidently embark on the journey of tonneau cover repair.
Armed with the right tools and materials, you can effortlessly fix small rips, address water seepage, and tackle general wear and tear.
Remember to prioritize preventative maintenance to ensure the longevity of your tonneau cover.
Enjoy a functional and well-maintained tonneau cover that enhances your truck’s style and functionality.
